Weekend SOCMINT Masterclass!
https://shop.csilinux.com/shop/instructor-led-training/
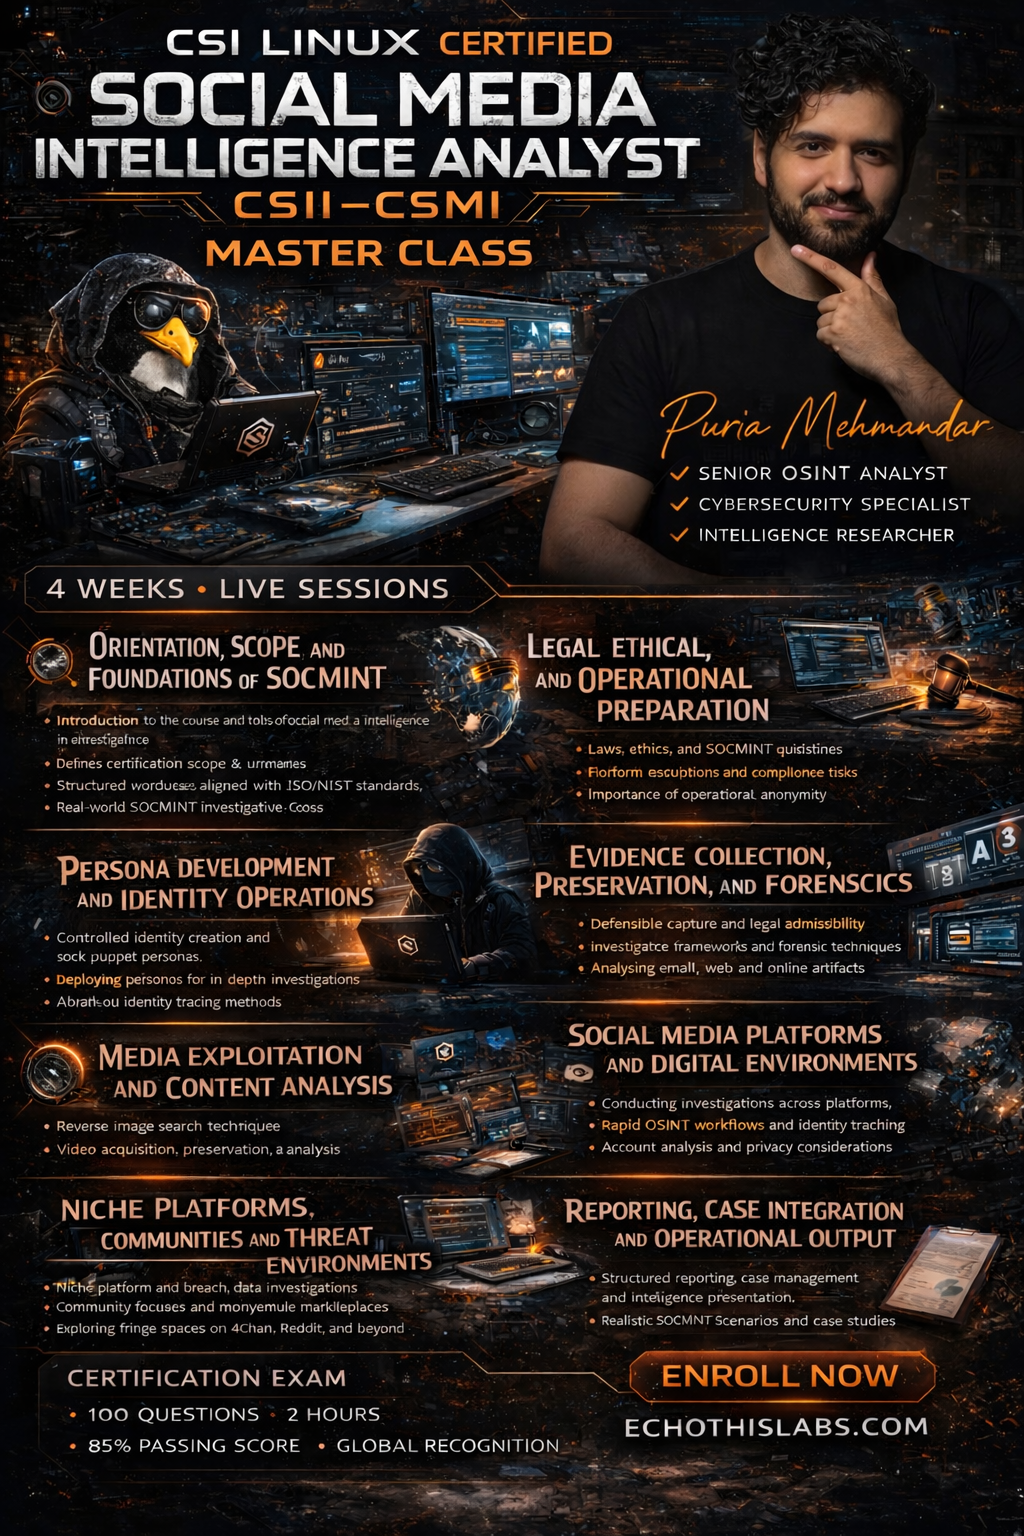
The CSI Linux Certified Social Media Intelligence Analyst (CSIL-CSMI) course and certification is designed to teach investigators how to collect, analyze, correlate, and report intelligence derived specifically from social media environments in a structured, lawful, and operationally sound manner. It covers the lifecycle of a SOCMINT investigation, from foundational concepts and investigative preparation through legal and ethical constraints, anonymity, persona development, identity tracing, media exploitation, platform-based investigations, niche communities, automation tools, and final reporting.
Its purpose is not to teach casual social media browsing. Its purpose is to teach how to extract, validate, and connect digital traces across platforms to produce actionable intelligence that supports real investigations and real decisions.
This course is useful because modern investigations increasingly unfold across social platforms, where identities, networks, and intent are exposed in fragmented and fast-moving ways. For law enforcement, intelligence personnel, private investigators, cybersecurity professionals, analysts, journalists, and researchers, the course provides a disciplined framework for identifying individuals, tracking behavior, preserving digital evidence, navigating platform restrictions, avoiding attribution mistakes, and converting findings into structured intelligence outputs. The certification is built around core domains such as investigative workflow, legal and ethical compliance, anonymity and OPSEC, persona operations, evidence collection and preservation, media analysis, platform exploitation, tool integration, and reporting.
Course Phases and Modules
Phase 1. Orientation, Scope, and Foundations of SOCMINT
• Introduction: Opens the course and frames the role of social media intelligence in modern investigations
• About the CSIL-CSMI: Defines certification scope, objectives, and expected outcomes
• Base Process of Investigations: Establishes structured investigative workflows aligned with ISO/NIST standards
• Examples of SOCMINT Investigations: Demonstrates real-world investigative cases and pattern-of-life analysis
Phase 2. Legal, Ethical, and Operational Preparation
• Laws, Ethics, and SOCMINT: Covers legal frameworks, cyber laws, and investigator conduct
• Terms of Service Challenges: Explains platform restrictions, compliance risks, and operational limitations
• Importance of Anonymity: Focuses on attack surface reduction, browser leaks, and investigator protection
Phase 3. Persona Development and Identity Operations
• Setting up an Online Persona (Sock Puppet): Teaches controlled identity creation and account management
• Using Your Persona to Investigate: Moves from creation to active deployment in investigations
• Username Search Techniques: Covers cross-platform identity tracing and correlation methods
Phase 4. Evidence Collection, Preservation, and Forensics
• Preserving Online Evidence: Covers defensible capture, authentication, and legal admissibility
• Investigation Frameworks and Evidence Handling: Applies models like IIF, ISO 27037, and NIST 800-86
• Email and Web Evidence Forensics: Introduces forensic techniques for online artifacts
Phase 5. Media Exploitation and Content Analysis
• Online Investigations with Images: Covers reverse image search and visual intelligence extraction
• Video Evidence Collection: Focuses on acquisition, preservation, and analytical use of video
Phase 6. Social Media Platforms and Digital Environments
• YouTube Investigations: Covers video sourcing, downloading, and metadata awareness
• TikTok Investigations: Focuses on influencer tracking, discovery, and rapid OSINT workflows
• Facebook Investigations: Covers account analysis, search techniques, and privacy considerations
• Telegram Investigations: Explores channel monitoring, groups, and encrypted ecosystems
• LinkedIn Investigations: Focuses on professional profiling and network intelligence
• X (Twitter) Investigations: Covers account authenticity, bot detection, and behavioral indicators
• Instagram and Cross-Platform Analysis: Expands into multi-platform identity tracking
Phase 7. Niche Platforms, Communities, and Threat Environments
• Dating Sites Investigations: Covers identity tracing in niche platforms and breach data usage
• Marketplace Scams: Focuses on fraud detection in online marketplaces
• 4Chan and Image Boards: Explores anonymous environments and high-noise intelligence spaces
• Reddit Investigations: Covers community-based intelligence gathering
• Other Social Media Sites: Includes GitHub, Mastodon, and fringe platforms
Phase 8. Tools, Automation, and Investigative Support Systems
• 3rd Party Commercial Apps: Covers tools like Maltego, Hunchly, and link analysis workflows
• Platform-Specific OSINT Tools: Introduces specialized tools for social media exploitation
Phase 9. Reporting, Case Integration, and Operational Output
• Writing the Report: Teaches structured reporting, case management, and intelligence presentation
• Case Studies: Applies full investigative workflows to realistic scenarios
Phase 10. Practice, Resources, and Continued Development
• Practicing OSINT and Resources: Reinforces skill-building, tool familiarity, and continuous learning
• Course Completion and Certification Path: Finalization, feedback, and certification readiness
—
Meet Your Instructor: Puria Mehmandar
Puria Mehmandar brings a structured, analytical, and operational mindset to the CSI Linux SOCMINT Masterclass: Social Media Intelligence & Digital Investigations. With a professional background rooted in project execution, procurement strategy, and risk analysis, he has developed a strong foundation in identifying patterns, validating sources, and assessing credibility within complex systems.
Alongside his operational career, Puria has actively specialized in open-source intelligence and digital investigation, with a particular focus on social media environments, identity tracing, and cross-platform analysis. His work emphasizes the disciplined collection and synthesis of open-source data, leveraging multilingual capabilities and cross-cultural awareness to interpret digital behavior across different regions and ecosystems.
He holds advanced academic training in Information Technology and History, allowing him to bridge technical analysis with contextual and behavioral understanding. This combination enables him to approach SOCMINT not just as data collection, but as a method of reconstructing human activity, intent, and networks through digital footprints.
In this masterclass, Puria teaches SOCMINT as a structured investigative discipline. His approach focuses on building reliable workflows, maintaining operational security, respecting legal boundaries, and transforming scattered social media data into clear, defensible, and actionable intelligence.